Stephen Farnow, author of the new book "Photoshop -- Just the Skinny," devotes a portion of the publication to showing how homeowners can use the popular computer application to devise decorating ideas. Here's his take on how Photoshop can be put to use in areas such as landscaping and simple DIY projects:
Okay, Photoshop won’t really decorate your home, although it was responsible for creating much of the alien world of Pandora in the blockbuster movie AVATAR. But what Photoshop can do is help you visualize changes you are contemplating, whether they be major remodeling, like hanging a new garage door, or minor projects, like hanging a collection of photographs. No, Photoshop won’t do the work for you. But it can help you avoid having to do the work twice to get it right.
Photoshop Landscaping
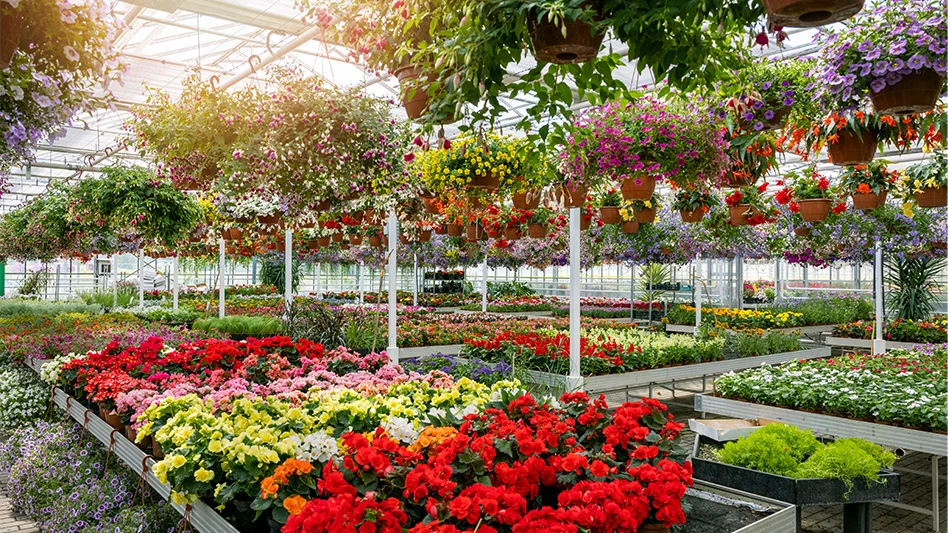
The possibilities are endless. Do you want to redo some landscape? Take a digital camera to your local nursery and snap photos of all of the plants that might work. Then come home and digitally plant them in an image of your garden, all in Photoshop of course. (No watering required!)
A little up front planning will make your job even easier. While at the nursery, try to take your plant picture against a contrasting background, perhaps the side of a building. This will make the job of erasing its background much simpler. As with the photo grouping, your garden photo should be your bottom layer stack with the new plant, or plants, each on a layer, above it. Your plant images may look oversized, of course. Just scale them to size using something in your garden picture as a frame of reference. Then move them around until your satisfied with the result. All with clean fingernails. (example image available)
Photoshop Installs a Garage Door
Let’s say you want to replace a garage door and you need to make decisions regarding style and color. The pictures your installer will show you will be helpful, but not as helpful as seeing what a given door would look like on your home. Well you’re in luck. With Photoshop, you can actually see exactly what it would look like.
To start, you’ll need a home picture from a vantage point where the garage door can be seen. You even might want to do this from the street, if the garage is visible from there, to get an idea of curb appeal. Second, you’ll need electronic images of the doors you’re considering. (You can scan your installer’s pictures or even download them from their website. Or take pictures of other garage doors you like.)
Next, merge all of these images together in Photoshop. The trick is to put each of the images on a different Photoshop layer, with your home photo on the top. Think of a layer as being a transparent sheet you can paste things on (digitally speaking). By erasing the existing garage door from your home image and each new door layer to fit that opening, you can see, one by one, exactly how each new door would look. You can even alter a door’s color to better match your existing color scheme. Your final decision will be based on having seen the winning combination, not guesswork. (example image available)
Photoshop Hangs Your Photographs
How often are there similar decorating dilemmas where, if you could better visualize the outcome, your choice would be easy? If you have Photoshop, you’ve no doubt created some pretty amazing images and might want a wall grouping. Or perhaps you want to create a family photo gallery. But how many photos should you have? How should they be arranged? How about frame style? Size? And which images should go where? Lots and lots of questions... Fortunately, Photoshop can help you with all of the answers.
As with the garage door project, the secret is to make use of Photoshop layers. Take a picture of your wall, this time putting it on the bottom layer. Take a separate picture of your photo frame and, in Photoshop, erase the background. Place this on a new layer above the wall picture and duplicate it for additional frames. Each frame can then be tweaked to change its size and the location, allowing you to create the entire grouping. And if you don’t like the result, you can just move the frames around until you get the arrangement you want.
You don’t need to stop here. You can import the images you plan to print and frame, loading each on its own layer. Then you can scale each picture to the size of a frame and “digitally” place it in the frame by just dragging it there. As you get more advanced, you can even take your wall image from an angle and then use Photoshop’s Vanishing Point filter to add proper perspective to your frames. With Photoshop, you can see it all before the first nail pierces your wall. (example image available)
Photoshop Carpentry
How about a new built-in bookcase? How many shelves and what kind of spacing might look best? Take a picture of the planned location but include a ruler or something with a known dimension. Now you can use Photoshop to draw in your shelves, changing spacing until you’re pleased, and then take measurements off the winning design (with the ruler as a guide). Take another picture of some books. (You have some, right? After all, you are building bookshelves...) Erase the background and use these books to fill up your shelves. (Yes, it will look like you have twenty copies of War and Peace but you get the idea.) Check it all out and get it right before you even pull out a sawhorse. (example image available)
Everyone thinks of Photoshop as a program for enhancing or altering photos, which it is of course. But with a little imagination, you’ll find all sorts of other applications for this very versatile program. After all, did you ever think Photoshop would have helped you hang a garage door or put up a grouping of photos?
Latest from Garden Center
- The Growth Industry podcast Episode 10: State of the Horticulture Industry
- Scientists develop vitamin A-enriched tomato to fight global deficiency
- Tennessee Green Industry Field Day scheduled for June 11
- UTIA and UT Knoxville research teams will develop automated compost monitoring system
- Ken and Deena Altman receive American Floral Endowment Ambassador Award
- [WATCH] Taking root: The green industry’s guide to successful internships
- Native before it was cool
- Proven Winners partners with Pure Line Seeds to offer vegetable plants